DVD/SatNav Modification
 Purpose: To be able to watch DVD Movies while in motion without requiring the hand brake to be on. It also enables the disablement of the speed sensor feed wire. Please note that this may be illegal in some states and we stress that you check with local authorities first before doing this mod.
The following proceedure is a guide only. If you decide to do this mod you do so at YOUR OWN RISK. Navlife and/or the contributors will not be held responsible for any damage or injury caused, or the voiding of any warranties.
Navara Models: 2010+ Titanium Edition D40, 2007+ STX-550 D40, 2014+ ST & STX D40
Equipment Needed: Philips Screwdriver, Soldering Iron & Solder, M13 Socket, ON/OFF Toggle Switch, Some 10A Twin Cable, Side Cutters, Wire Strippers, Earth Loop Crimp, 2x Female Crimps, Heat Shrink & a Lighter or Mini Gas Torch.
Approx Time Required: 2 – 3hrs
Contributors: Terry Drew, Mal Schweitzer, Ollie Knust, Australian D40 Navara Community
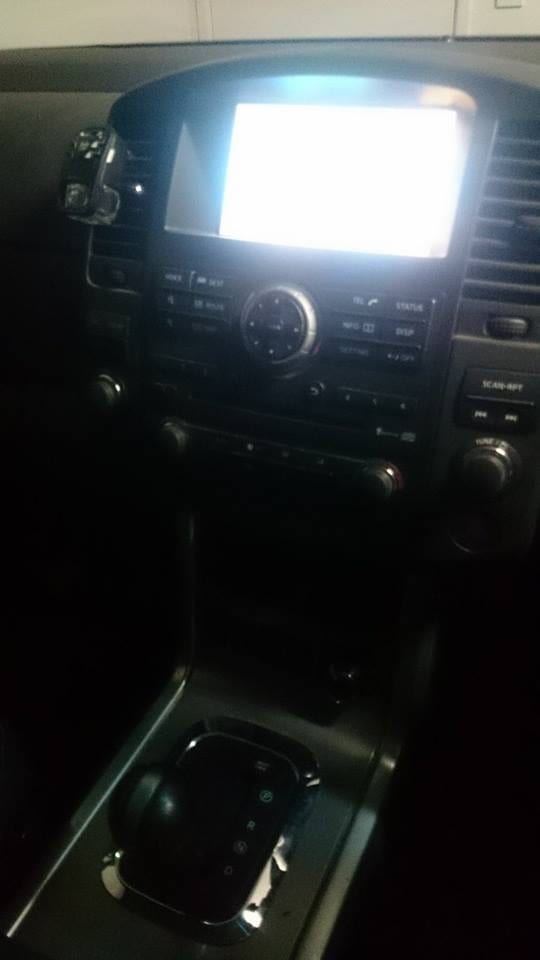
Step 1:
At the back of the round plastic cover of the screen is three push in pull out clips I found it easier despite the few YouTube video suggestions to pull it from the top first.
You will need something thin and plastic to slide in and lever the clips out.
Step 2:
Next you will need to remove the plastics around your gear selector. Start by pulling the cup holder out simply pull. Then same goes with the silver around the gear selector.

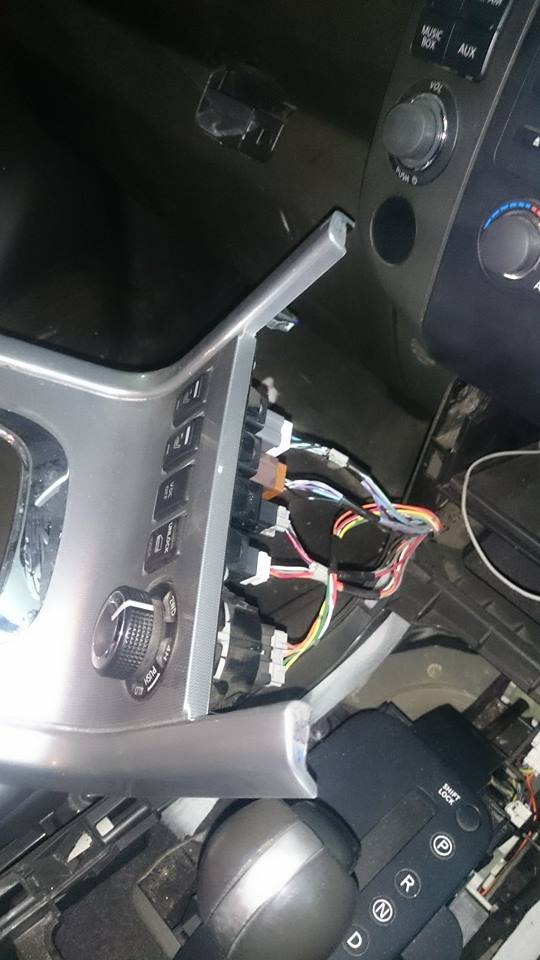
Step 3:
Disconnect the cables as they will get in the way.
Step 4:
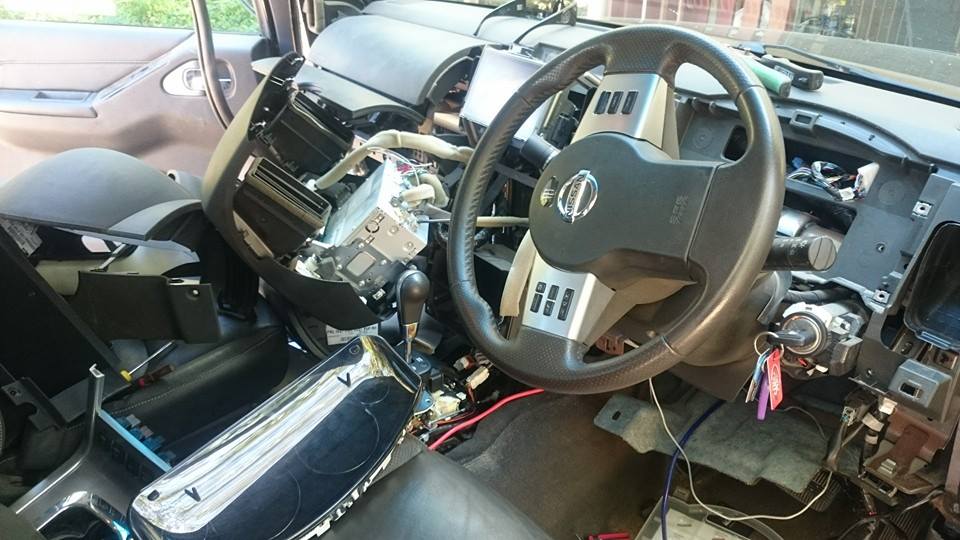
Next you will be removing the centre console… If your still reading at this point Terry pulled his entire dash out to work out exactly how to do all this… In the centre console there are several screws holding this in. Remove them and any cables attached to power port aux port if you have them.
Step 5:
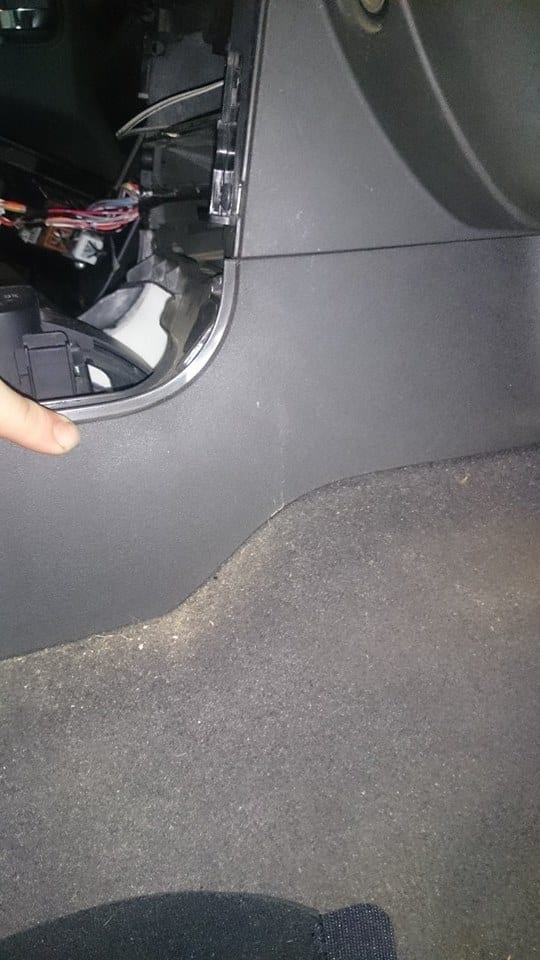
Then you will be able to access any screws that hold in this plastic part. It comes out only after you have removed your centre console.
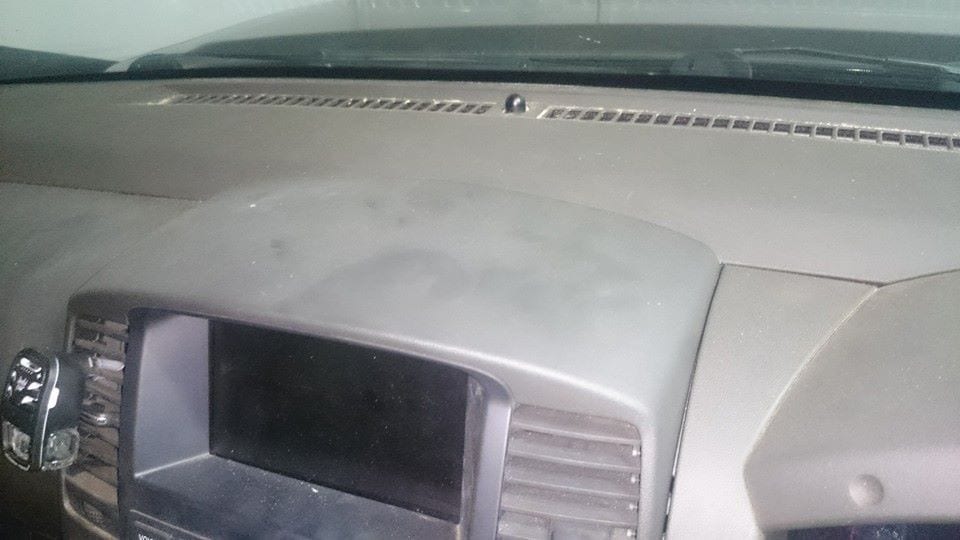
Step 6:
Next is this part and the seal on top of it. It pulls out easily.
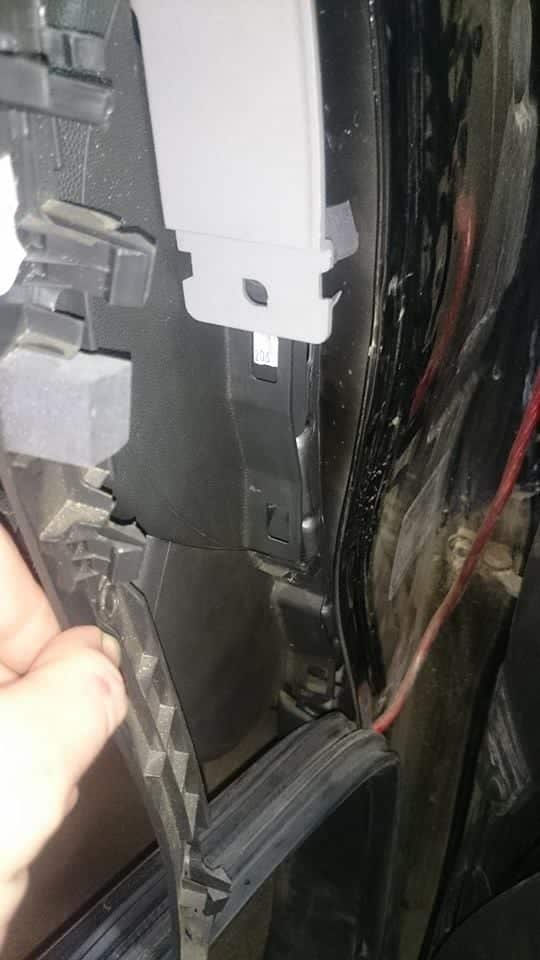
Step 7:
Then remove the two screws behind that panel and you will be able to remove the bottom portion below the steering wheel.
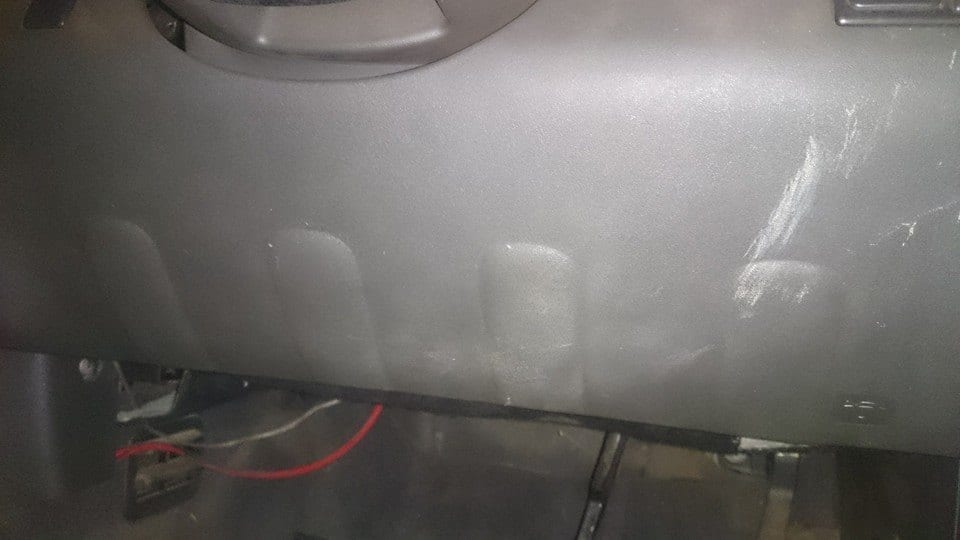

Step 8:
Now inside behind the unit is two 8mm bolts that hold it all in to a metal frame one either side. You will need to remove these before you can pull out the head unit console. That plug just below the bolt is the power plug at your left knee on the dash.
Once you have those two bolts out you should be able to pop the two front clips located behind the hazard button and same location on the opposite side. Again something thin and plastic able to use as a lever and pry them free… Once you have it out you will see the screen stays mounted to the dash you won’t need to look behind it

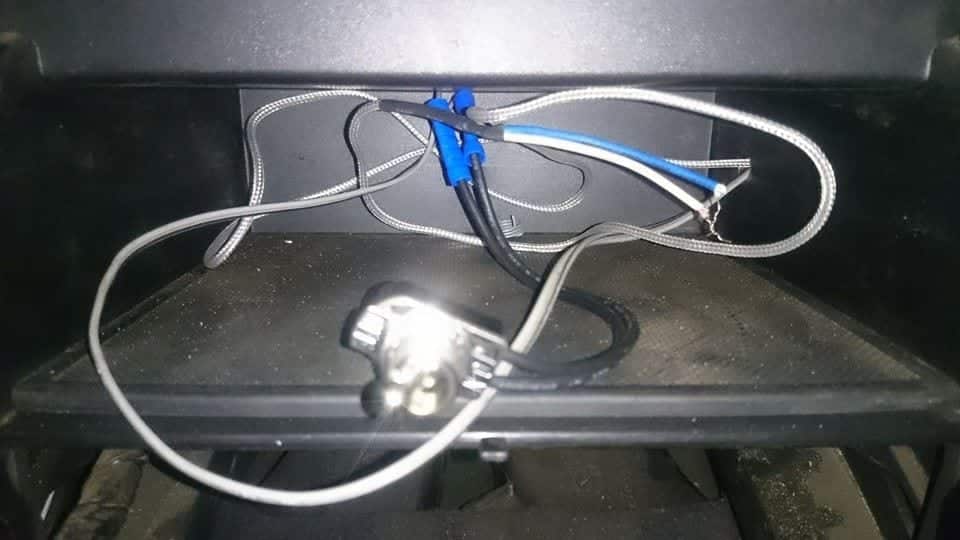
Step 9:
On the back of the headunit you will find several banks of cables…. This one is the one you will need to make modifications with.

Step 10:
The green wire is the handbrake signal… Earth the wire from the plug and cover the end that heads back into the dash with some heat shrink so it can’t make contact.
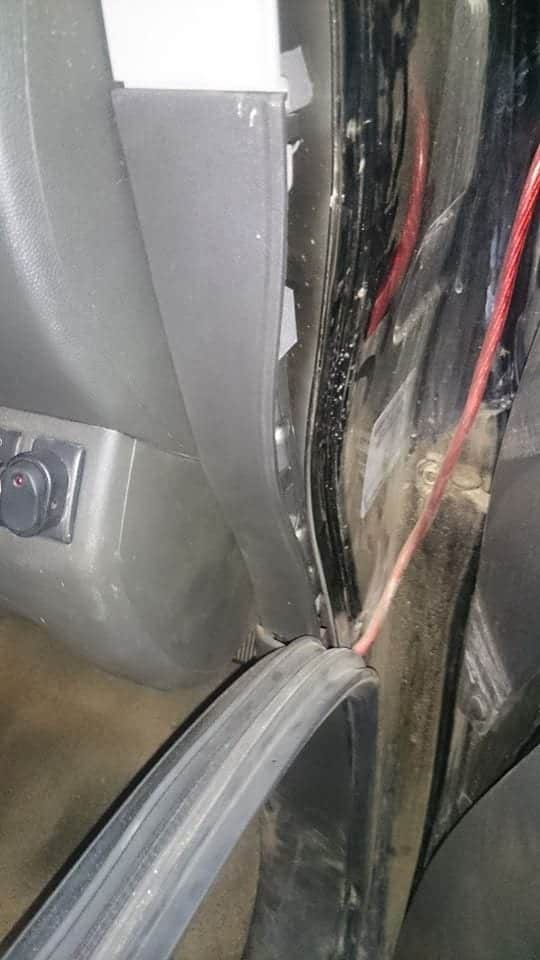
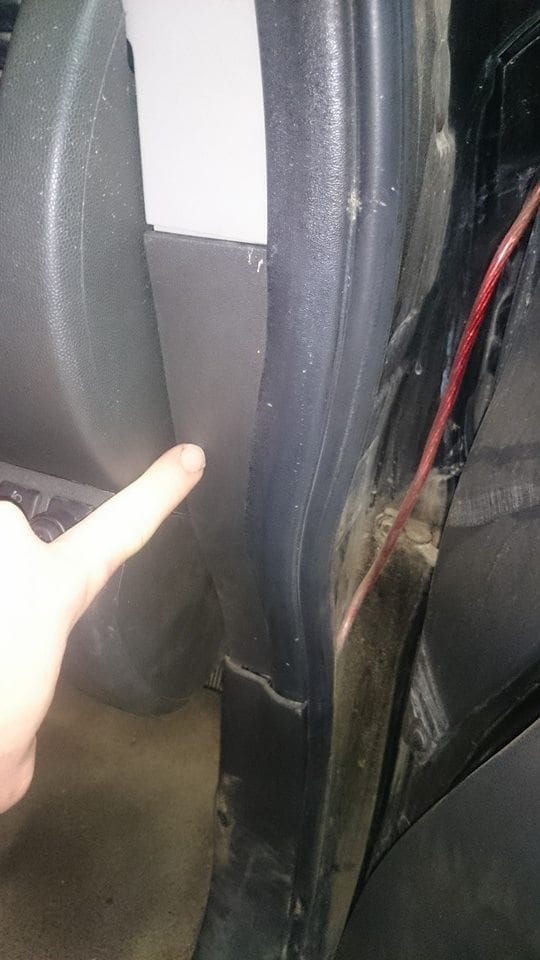
The orange wire is the speed signal wire and needs to have a switch installed inbetween it. Cut the orange wire giving you enough room to strip each end and solder a wire extension to each end and Heatshrink. Give yourself enough length so you can mount the switch somewhere solid. Connect the switch end of the wires with the appropriate crimp fitting for the switch. These are generally female blade crimps.
Once you have this done a quick driveway test to make sure your switch works you won’t need much speed at all to see that the switch is doing its job. Once your happy slap it all back together and enjoy.


The switch is in place because it uses the speed wire to determine speed and position along with satellite signals to keep guiding you on the map. If you want to watch a DVD you must have the switch in the off position and this in-turn will partially disable your SatNav. If you want to use your SatNav be sure to turn the switch back in the ON position to successfully determine direction and GPS tracking.
- Just a heads up too: If playing movies via USB input make sure they are encoded in .AVI (Divx). This is the only format that will successfully work.
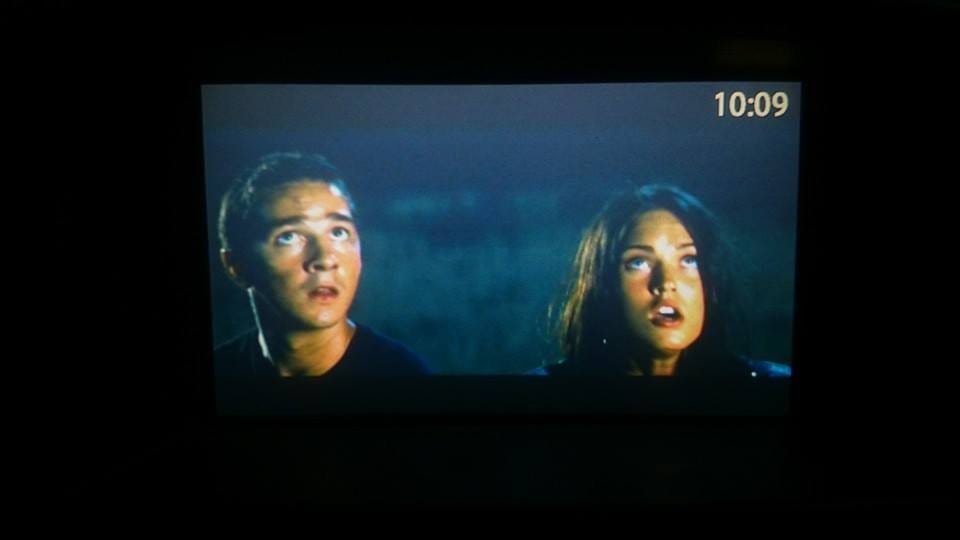
- To remove the time on the screen while watching movies go into Settings/Display/Clock and turn off on screen display of clock.
Hi I’m new to electronic devices my question is when placing a switch between the orange speed wire do I then need to earth the switch and run both orange wire into one port on the switch? Sorry if dumb question just need answers cheers
Hi David,
No you are just cutting the orange wire and putting a toggle switch in between so you can turn the speed wire on and off to the DVD/SatNav unit. If you want the DVD player to work while driving the speed wire will need to be in the OFF position and if you are wanting to use the SatNav the wire will need to be in the ON position for it to work correctly as the SatNav uses GPS positioning and speed to determine an “Exact” location on the road.
Regards Ollie